
Guide to Identifying Email Campaign Open and Click Users
Published: Nov 19, 2025|5 min read|

📖Introduction
The fundamental strength of Antsomi CDP 365 lies in its ability to transform businesses into data-driven entities by unifying and activating customer data. To precisely measure campaign efficacy and define subsequent re-engagement strategies, it is essential to identify the specific Customers who interacted with an email marketing effort. This rigorous process involves locating the unique campaign identifier within the Marketing module and leveraging the powerful segmentation capabilities of the Profiles module.
This guide provides detailed instructions for addressing the following needs:
•Individually identifying who specifically opened your email campaign
•Precisely determining who clicked on links within your email campaign
By accurately tracking these interactions, you can implement more targeted follow-up campaigns and conduct detailed analysis of customer engagement.
🛠️Detailed Procedure: Creating the User Segment
To generate a precise list (Segment) of users who have either opened or clicked a specific campaign email, execute the following three systematic steps based on the core functionality of CDP 365:
The Journey ID is the mandatory, unique identifier required to filter interaction data (events) specifically linked to your chosen email campaign.

- Navigate to the Marketing module.
- Select the Email application or tab within the Marketing section.
- Locate the target campaign (e.g., "GB Knowledge Newsletter Mar 2025," as per the source example).
- Identify and record the corresponding Journey ID.
- Note on visibility: If the "Journey ID" column is not immediately visible, adjust the display settings by using the Customize Columns feature to ensure the ID field is displayed.
Segments function as precise groupings of Customers or Visitors based on complex behavioral criteria. To analyze post-delivery actions (Opens/Clicks), the segment must target identifiable customers.

- Navigate to the Profiles module, and select the Segments application.
- Select the option to create a new segment (typically a Customer Segment since emails are targeted at identifiable users, defined by attributes like email address or phone number).
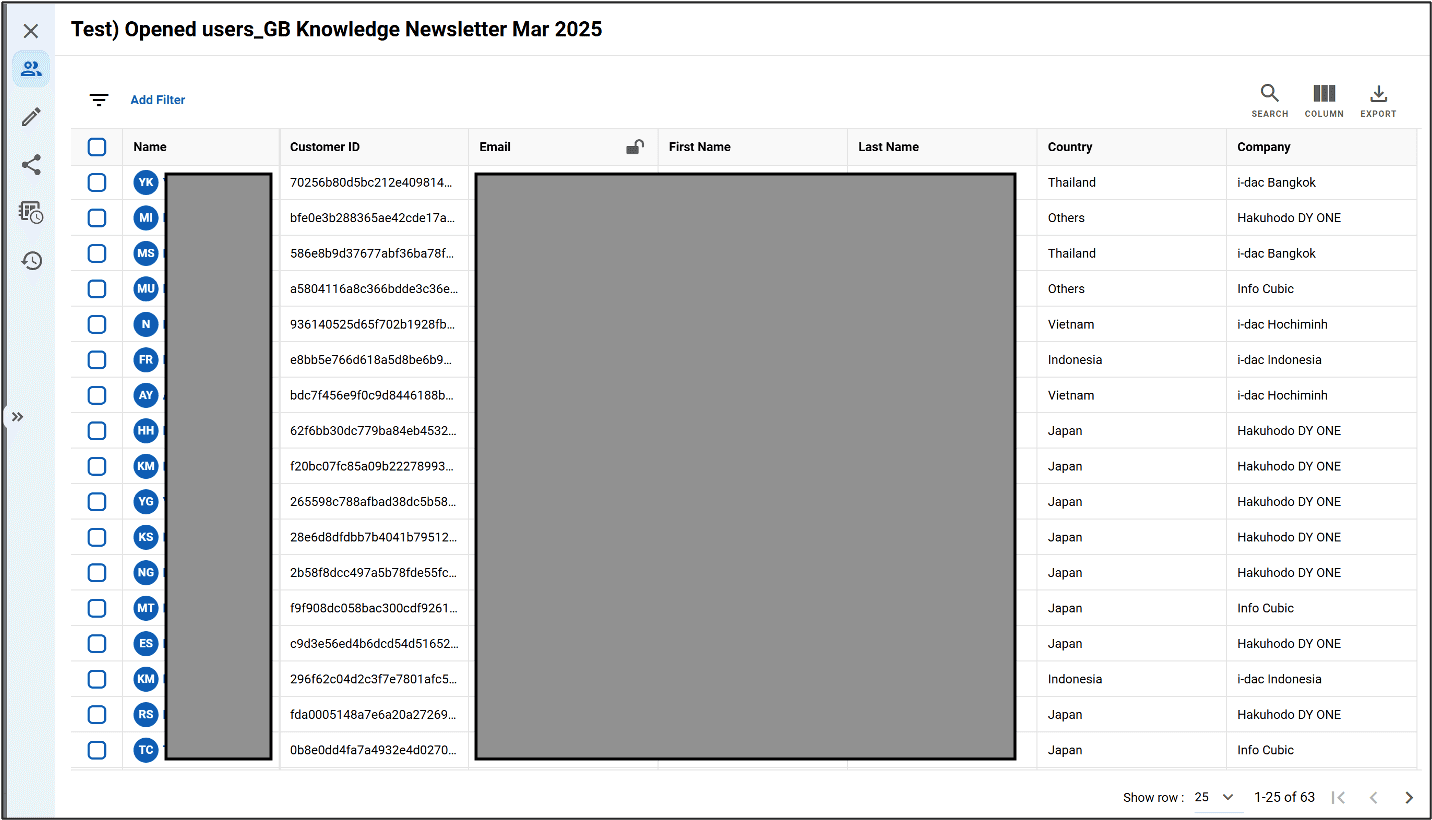
- Assign a clear Name and Description to the new segment (e.g., "Test Opened users_GB Knowledge Newsletter Mar 2025").
- Configure the essential settings precisely:
•Update segment frequency: Set to "Static segment - no update." This ensures the segment calculation runs only once and captures the exact audience based on the initial run parameters.
•Data access: Set to "Customer".
•Member input method: Set to "Conditions".
Use the Perform event condition filter to identify users who successfully completed the desired interaction (Open or Click) related to the unique Journey ID identified in Step 1.

- Under the
Include people thatsection, select "Perform event". - Set the Event Counter condition to specify that the event must have occurred: "greater than or equal to 1 time(s)".
- Select the specific event corresponding to the desired interaction type:
•For Email Opens: 👁️ Select the event "Ads might be viewed".
•For Email Clicks: 🖱️ Select the event "Ads clicked".
- Refine the event by adding a "Where" condition to filter by campaign ID:
•Choose the attribute "Journey >> ID matches any of".
•Input the specific Journey ID secured in Step 1.
- Set the precise time constraint using "Time range":
•Configure the Start Date and End Date to encompass the full delivery period of the campaign.
- Save the changes to trigger the initial segment calculation.
✅Verification and Advanced Analysis
Upon successful definition and saving, the segment calculation process is initiated. Verification ensures data integrity and prepares the derived audience for further action.
🔍Verification of User List
- Monitor Computation Status: The computational status of the segment (Success or Failure) can be tracked in the "Computation Histories" tab within the Segments application.
- View Customer Profiles: Once the computation is successful, the resulting list of identified customers (those who opened or clicked) can be viewed within the segment's Members tab. This provides direct access to the detailed profiles, leveraging the 360-degree customer view compiled by CDP 365.
📊Application in Advanced Reporting (Insights Module)
For quantitative performance evaluation beyond simple user listing, utilize the Insights module.
- Navigate to the Insights module.
- Select the Reports app.
- Create a report, ideally starting with the "Journey Performance" data source.
- Add appropriate Metrics (quantitative data, marked with "123") such as Opens or Clicks, and relevant Dimensions (qualitative attributes, marked with "ABC") to construct detailed charts, scorecards, or tables, providing a comprehensive evaluation of the campaign's effectiveness.
🏁Conclusion
By adhering to this systematic approach—securing the unique Journey ID, defining precise event criteria (e.g., Ads clicked or Ads might be viewed) within a Static Segment, and validating against the deployment window—you harness the core data unification and activation capabilities of Antsomi CDP 365. This methodology ensures the precise identification of engaged users, enabling highly granular segmentation and activation for subsequent marketing optimization and personalized campaigns.
Have Questions or Want to Learn More?
Contact us for more information about H+ CDP and how it can help your business.
Email us at: antsomi-contact@hakuhodody-one.co.jp
Or, fill out the form below and we'll get back to you shortly.